Ceramic mold making opens up endless potential for creative expression. Not only does ceramic mold making enable you to repeat a form over and over again, it also makes individual forms lose their preciousness, which frees you up to experiment more! 
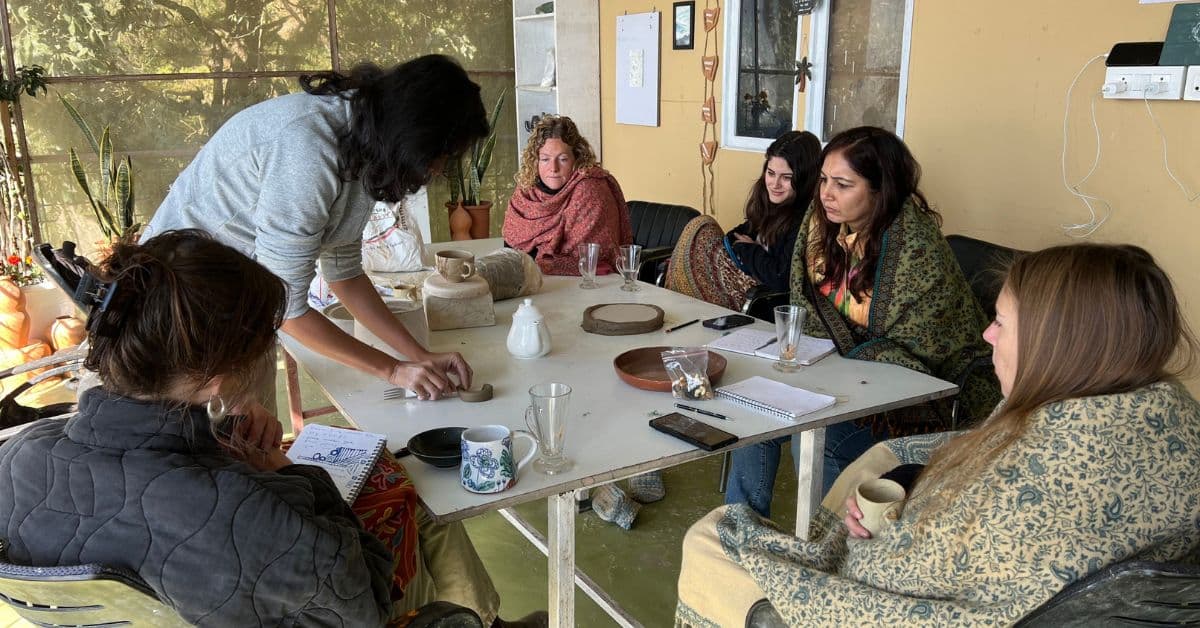
Making your own custom ceramic molds will help you break out of your comfort zone in the studio and grow as an artist.
Types of Molds:
-Bisque Clay Hump or Slump Molds – using slabs for batch production
-Slip casting drop out mold
-Multipart Molds
Making Plaster:
1. Ensure your set up is ready – a share you want to make a mold for, wooden or clay walls to pour plaster into.
2. Generic rule for good plaster water ration is 1 pint of water to 750 grams of plaster.
When doing by eye, measure your water in a container, wear a mask to avoid inhaling plaster dust.
3. Slowly add plaster in the bowl, making sure you are evenly pouring it in till it forms peaks that don’t settle as quickly.
4. Stop adding the plaster and start mixing using your hand or a mixer (avoid whisks as that will introduce moisture less air into the plaster and cause bubbles in the mold).
5. Using a flat palm at the bottom of your container mix the plaster, getting rid of any air bubbles and mix bits of plaster well, you will notice the plaster starts to thicken the more you mix.
6. When it reaches double cream consistency (it covers your skin well) it is ready to pour, ensure it is a smooth blend, free of any lumps.
7. Leave the plaster to set for 30-40 minutes before taking off any clay or wood walls you have created to pour it into.
(The preparation stays the same for most mold making, the only thing that alters is how you prepare your model and set up to make the actual mold.)
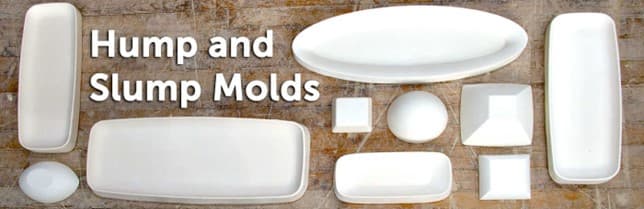
1. Bisque Clay Hump or Slump Molds
Ideal for shallow bowls, dishes and plate shapes. Slump mold (press mold): A typically shallow frame or mold into which a slab of clay is allowed to fall or settle in order to form a vessel. These can be frames with no bottom, as in today’s video clip. Create a model using clay or 3D printing and then make a wall around it to pour latter on top to create the negative.
Hump mold: A convex form over which clay slabs are draped until stiff enough to hold the shape. Using a wheel make a clay wall of the shape you want a model of, let the clay wall get leather hard and pour plaster in it.
When it starts to firm up and is more cheese like remove the clay wall and use metal tools to clean up and shape it.
If it is a round shape, turn on the wheel and give it more form sing a rib and turning tools (you can also create an acrylic profile to give it the exact form you want.
Leave to dry and use when it doesn’t feel damp.
Working with press molds and hump molds:
– Wedge the clay, roll a clay slab, and lift it up and push
– Allow to drop in the form, using a damp sponge gently press the clay onto the mold
– Work all the air out at the bottom, go around the piece to get rid of air and fix the sides to make sure
there is no air bubbles or gap once the clay is out of the mold
– For big overlaps allow the air to come out and press, feel any air pockets
– Trim some bits out (It is easier to press shallow molds)
– Use a kidney to smoothen
– Chop of the outside edges, keep the knife nice and flat when trimming the clay
– Once leather hard place a wooden bat over the top and flip none swift movement
– Remove the mold and neaten it.
2. Drop Out mold
Simple shapes like bowls, vases, platters can be made using one-art molds. You can create a whole piece in a single cast using slip casting till there are no undercuts that would grip in the mold. If a model doesn’t have a smooth, tapered profile it would be more suited to become a multipart mold.
Prepare the model – check for any undercuts
If using a plaster model – soak the plaster base if it is bone dry
Soft soap (release agent) plaster model, using sponge wipe it off. This will protect the surface of plaster from sticking to the mold when we add fresh plaster on top. Do it twice/thrice.
Making your own soft soap: 1 part liquid soap, 1 parts oil/moisturizer, Vaseline (anything greasy), a little water if the mix is too thick. Alter it according to availability.
Objects which aren’t covered like glass jars, fill them with newspaper and clay If the base goes inwards fill the bottom with clay to even it out
If using a glass model – non-porous don’t soak it
As it’s a slip casting mold make a feed (a tapered shape that is wider than your model) to pour slip.
Attach the cottle ( a plastic sheet, metal sheet or clay wall) around the shape and use some thick thread to tie it around.
Pour the plaster, avoiding splashes as that can cause bubbles Remove the cottle when your mold is set (it goes warm) Clean using metal tools and leave to dry
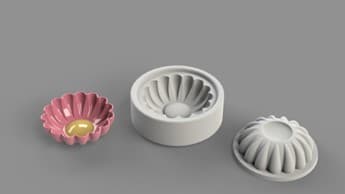
3. Two-Part/Multipart Mold
Good for more complex shapes, with curved or complicated profile. Start by identifying where can the shape be divided, making a feed for slip casting molds.
Making a feed
– Make a round feed for a round object
– Use plaster and turn it on the wheel when it is cheese like, or clay
– Brace the turning tool to turn and shape the plaster
– Have the wheel really slow to center the plaster
– Keep cleaning as you work on it
Mold making
– Find the seam line of the object and make a base set
Seam line – where the mold will split
– Set model on horizontal slab of clay
– Have the base of the model at a right angle, check using a set square and fix clay accordingly
– Once its set, use water color pencil on the right-angle tool to mark where the seam line should be
– Make a dotted line and join all around the model
– Use a permanent marker to join the dots on a glass jar
– Have a base set, that would determine the shape and size of the mold
– Use bandsaw or a sharp knife to cut the edges of the base so that its neat
– Make sure the bottom is at a right angle and seam line is horizontal after placing it on the base
– Cover around the seam line using clay, leaving the feed and base model
– Soft soap the plaster feed
– Get a sticky bit of clay on the feed and fit it on the model
– Check the base set and have the feed at the edge, use set square to check
– Use tools to bring clay all the way to the model at a right angle and make the surface smooth
– Keep wiping the model off as you get clay on it, smoothen out the top
– When we come to run the mold, we calculate the plaster 750 grams – 1 pint of water
– Make sure it’s a nice and clean work area
– Use base sets or wood to line around the model and box around it
– Soft soap and plaster bats so that wet plaster does not stick to it
– Create a box shape and tie it around with a string securely
– Use clips to tighten any over hangs – little pieces of clay to support set up
– Fill any gaps in the set and make sure you can’t see any light through making sure plaster doesn’t leak
– Have a rectangle bat ready, in case there’s excess plaster left to create another bat
– Weigh out plaster and pour in the box
– Keep pouring over the model
– Pat at the top to get rid of any air bubbles
– Leave to set
Refer to Complete Pottery Techniques, DK for more information and step by step pictures.