Published 19 Nov 2025
The Different Types of Kilns in Pottery: A Complete Guide for Ceramic Artists
When it comes to ceramics, few tools are as important as the kiln. It’s where clay transforms into stone, where the magic happens.
Introduction
When it comes to ceramics, few tools are as important as the kiln. It’s where clay transforms into stone, where the magic happens. Whether you’re just beginning your journey with clay or deepening your practice, understanding the types of kilns and how they work will help you make informed decisions about your creative process.
What Is a Kiln?
A kiln is a high-temperature furnace used to fire clay. It hardens, strengthens, and vitrifies your work — turning fragile clay into durable ceramic. The firing process also affects the color, texture, and finish of your piece.
There are many kinds of kilns, and each offers unique control over heat, atmosphere, and effect on the clay body and glaze.
Main Types of Kilns Used in Pottery
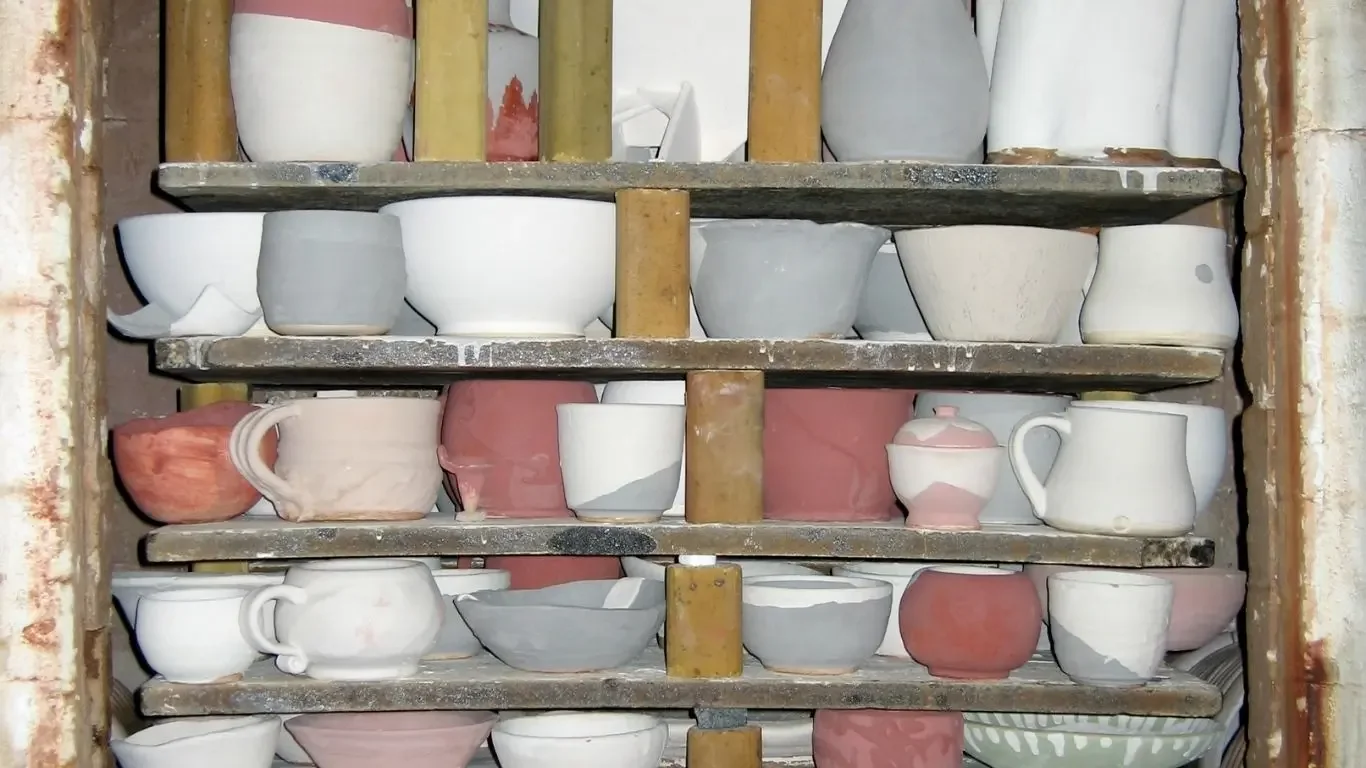
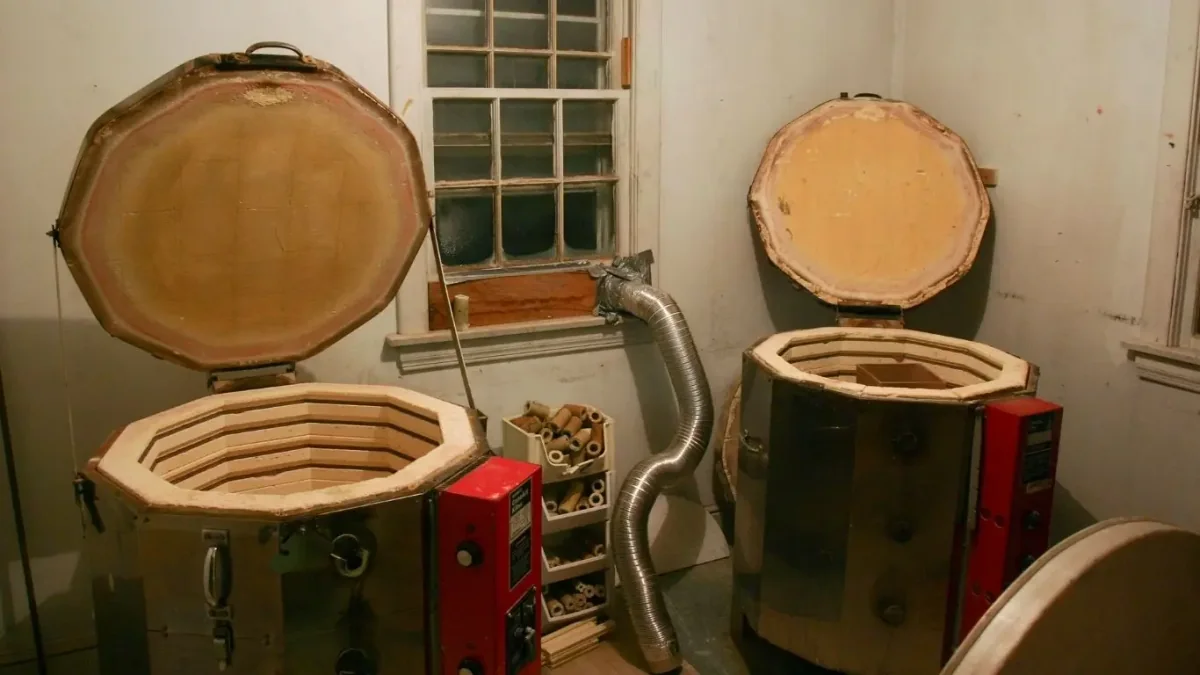
1. Electric Kiln
Best for: Studio potters, small-scale artists, and beginners.
Electric kilns are the most common type in modern studios, including Dharamkot Studio. They are clean, convenient, and easy to control. Heat is generated by coiled elements along the walls, and the firing schedule can be adjusted digitally.
Pros:
- Easy to operate and maintain
- Great temperature control
- Ideal for oxidation firings
- Suitable for indoor use
Cons:
- Limited to oxidation effects (no flame or reduction atmosphere)
- Electricity cost can be high in long firings
Pro Tip: Experiment with layering glazes in an electric kiln — oxidation firing allows colors to appear clean and bright.
2. Gas Kiln
Best for: Professional ceramic artists and advanced studios.
Gas kilns use propane or natural gas as fuel. They offer control over the firing atmosphere — whether oxidation (oxygen-rich) or reduction (oxygen-starved). Reduction firings produce complex, earthy tones and depth in glazes — something that can’t be replicated in electric kilns.
Pros:
- Produces rich, varied glaze effects
- Allows both oxidation and reduction firings
- Larger firing chambers for batch work
Cons:
- Requires ventilation and outdoor setup
Needs experience to handle safely
Pro Tip: Keep a firing log — every reduction firing behaves differently depending on temperature, airflow, and gas mix. Your notes are your best teacher.
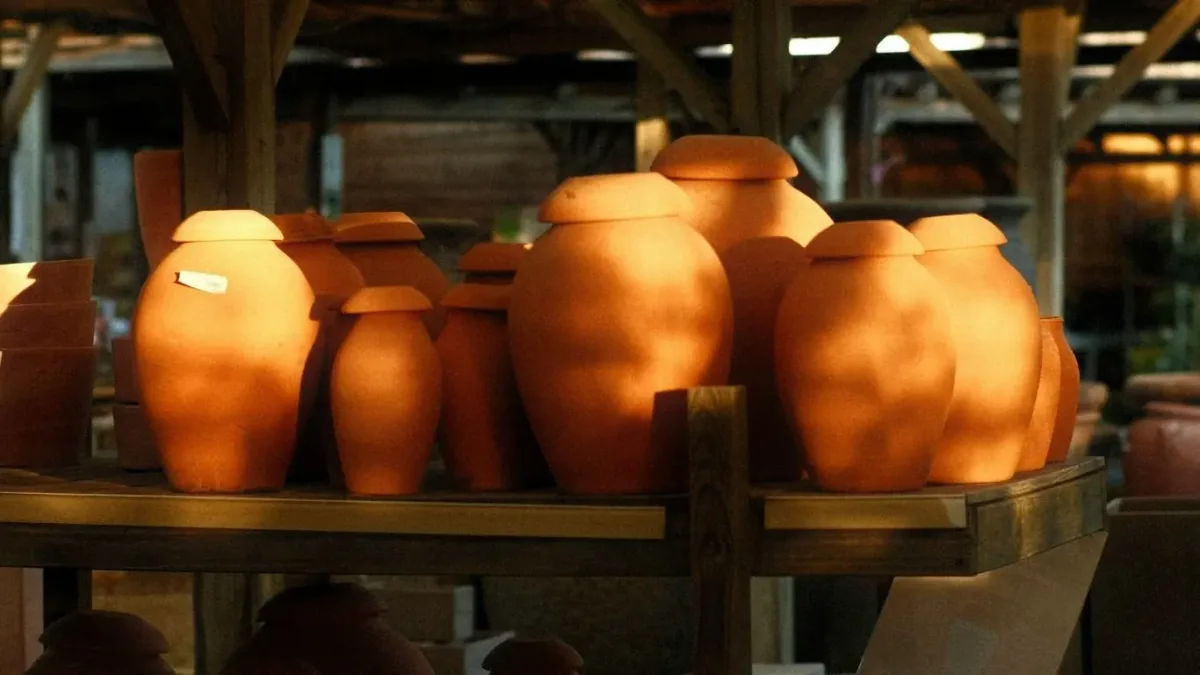
3. Wood-Fired Kiln
Best for: Traditionalists and artists seeking natural, unpredictable surfaces.
Wood kilns have been used for thousands of years. The process involves feeding wood for many hours — sometimes days — to maintain the required temperature. Ash from the burning wood settles on the pottery, melting into a natural glaze that makes every piece truly one of a kind.
Pros:
- Beautiful, organic surface effects
- Deep connection between fire, clay, and artist
- Creates stunning ash glazes and flame markings
Cons:
- Requires space, time, and a lot of wood
Hard to control temperature precisely
Pro Tip: Use unglazed stoneware for wood firings — the natural ash deposits create breathtaking, unpredictable finishes.

4. Soda or Salt Kiln
Best for: Artists exploring surface chemistry and texture.
In these kilns, soda or salt is introduced during the firing. At high temperatures, it vaporizes and reacts with the silica in the clay body to form a thin, glassy coating. The result is a distinct orange-peel texture with subtle color variations.
Pros:
- Unique glaze effects without applying glaze
- Beautiful color gradients and textures
Cons:
- Requires specific clay bodies
- Salt vapors can corrode metal parts of the kiln
Pro Tip: Place your pots strategically — proximity to the flame path changes how much soda vapor hits your surface.
5. Raku Kiln
Best for: Experimental and expressive artists.
Raku firing is a dramatic, fast, and hands-on process. Pots are removed from the kiln red-hot (around 1000°C) and placed into combustible materials like sawdust or paper. The rapid cooling and smoke create unpredictable crackle patterns and metallic surfaces.
Pros:
- Fast and exciting results
- Distinctive surface effects
- Great for workshops and live demonstrations
Cons:
- Fragile ware (low-fired)
- Not suitable for functional pieces
Pro Tip: Try using horsehair, feathers, or leaves in post-firing reduction — they leave delicate carbon imprints on the glaze surface.
Choosing the Right Kiln for Your Practice
Your choice of kiln depends on your creative goals, studio setup, and budget.
- For consistent results and teaching studios → go with an Electric Kiln.
- For rich, natural surfaces → explore Gas or Wood-Fired Kilns.
- For artistic experimentation → try Raku or Soda Firing.
At Dharamkot Studio, we work with multiple kiln types — from electric to raku — allowing participants to explore how different firing techniques influence form, glaze, and feeling.
The Kiln as a Creative Partner
A kiln is more than just equipment — it’s a collaborator. Every firing tells a story of heat, timing, and transformation. Once you start paying attention to how your clay responds, you’ll begin to see the kiln not as a tool, but as part of the artistic dialogue.
Pro Insight from the Studio
Each firing is a ritual, patience, control, and a touch of surrender. Whether you’re firing your first bowl or building a body of work, remember: what happens in the kiln is where clay learns to remember its shape.