Published 25 Nov 2025
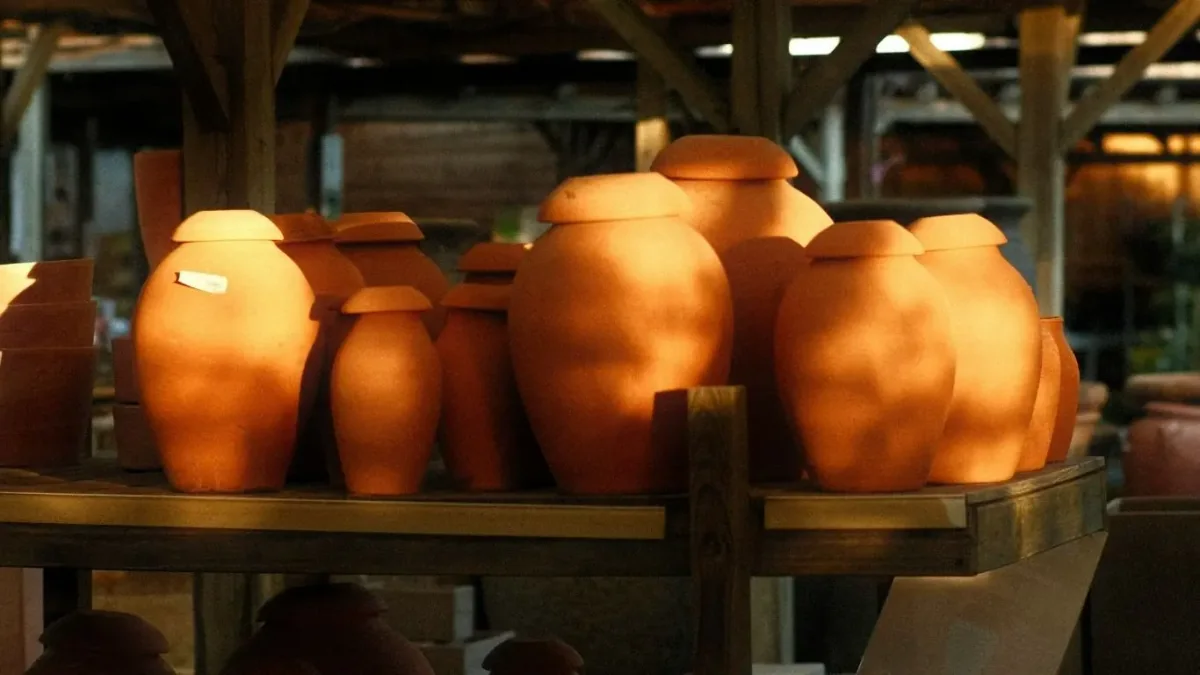
Essential Pottery Tools Every Studio Needs
Pottery is as much about the tools as it is about touch. Every curve, texture, and finish owes something to the quiet helpers in your studio — the wire cutter that frees your clay, the sponge that refines a curve, the trimming tool that reveals the perfect foot ring.
Introduction
Pottery is as much about the tools as it is about touch. Every curve, texture, and finish owes something to the quiet helpers in your studio — the wire cutter that frees your clay, the sponge that refines a curve, the trimming tool that reveals the perfect foot ring.
Whether you’re setting up a home studio or joining a community space, understanding your tools will help you work more intuitively and achieve better results. Here’s a breakdown of the essential pottery tools every ceramic artist should know — and how to use them effectively.
1. Potter’s Wheel
The heart of many studios, the wheel lets you shape symmetrical forms with fluid motion. Beginners often start with electric wheels for control, while experienced potters may prefer kick or treadle wheels for rhythm and silence.
Pro Tip: When choosing a wheel, check for torque strength — it determines how well it handles larger clay pieces.
2. Bats
Circular boards (usually made of wood, plastic, or plaster) that attach to the wheel head, allowing you to easily remove pots without distortion.
Pro Tip: Keep multiple bats ready when throwing — it speeds up workflow and reduces handling risk.
3. Wire Clay Cutter
Used for slicing clay blocks or removing finished pieces from the wheel. Simple yet indispensable.
Pro Tip: Keep two cutters — one for wet clay and another for reclaiming or trimming dried clay.
4. Sponges
A potter’s best friend for controlling moisture and refining surfaces.
Natural sponges are great for absorbing excess water.
Synthetic sponges offer smoother control for finishing.
Pro Tip: Keep a damp sponge handy at all times — it’s essential for maintaining even moisture on the wheel.
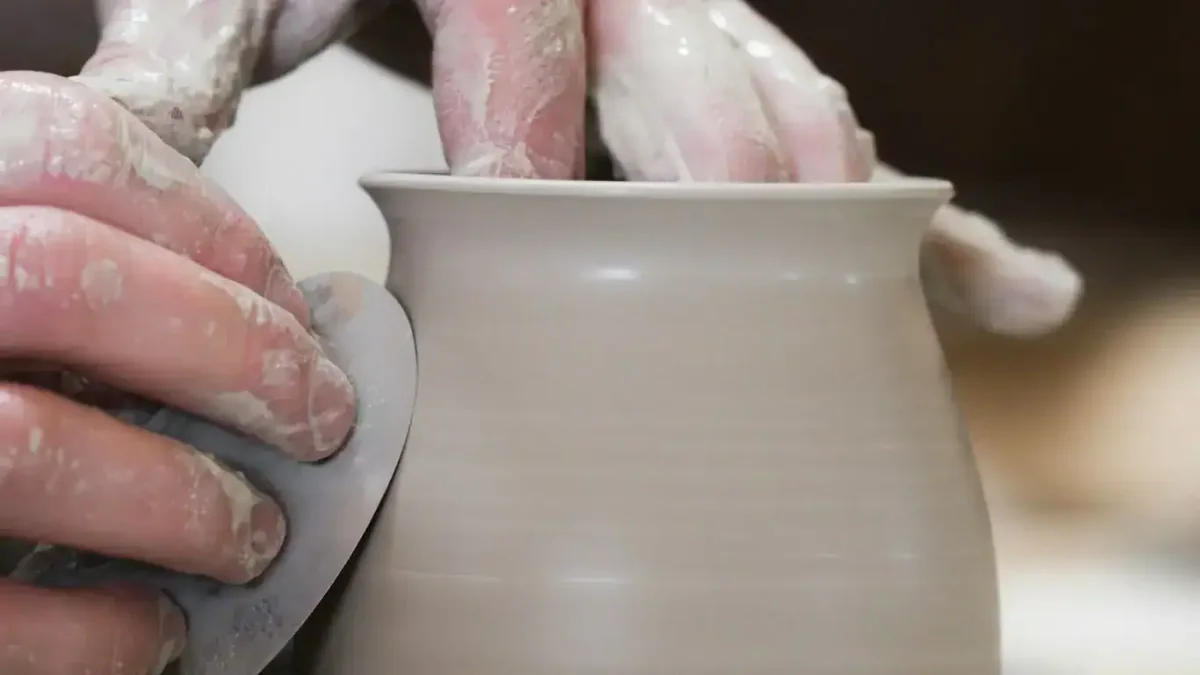
5. Ribs and Scrapers
Ribs come in wood, metal, and rubber, used for shaping, smoothing, and compressing clay surfaces. Metal ribs refine forms and trim bases.
Rubber ribs are perfect for gentle smoothing.
Pro Tip: For beginners, a soft rubber rib offers excellent flexibility when shaping bowls or cups.
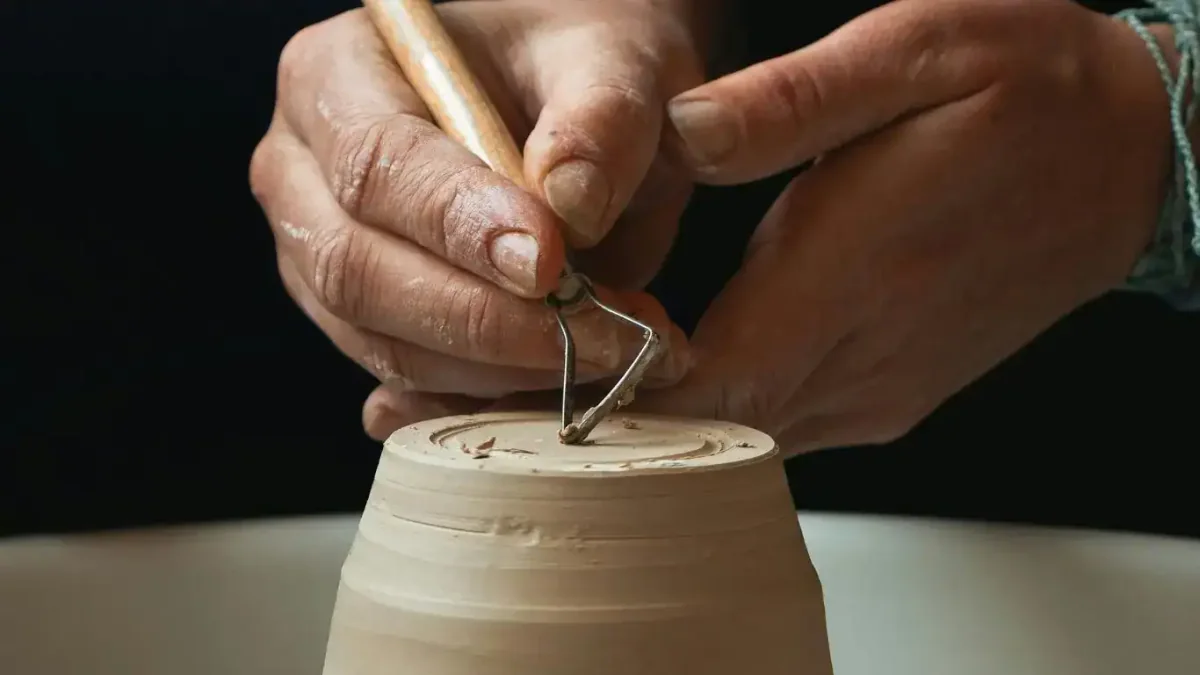
6. Trimming Tools
Used to carve and refine the base (foot ring) once the clay reaches leather-hard stage.
They come in loop, ribbon, and wire forms — each offering different depths and edges for precision work.
Pro Tip: Keep trimming tools sharp and clean. A dull loop can tear rather than slice clay, leaving rough textures.
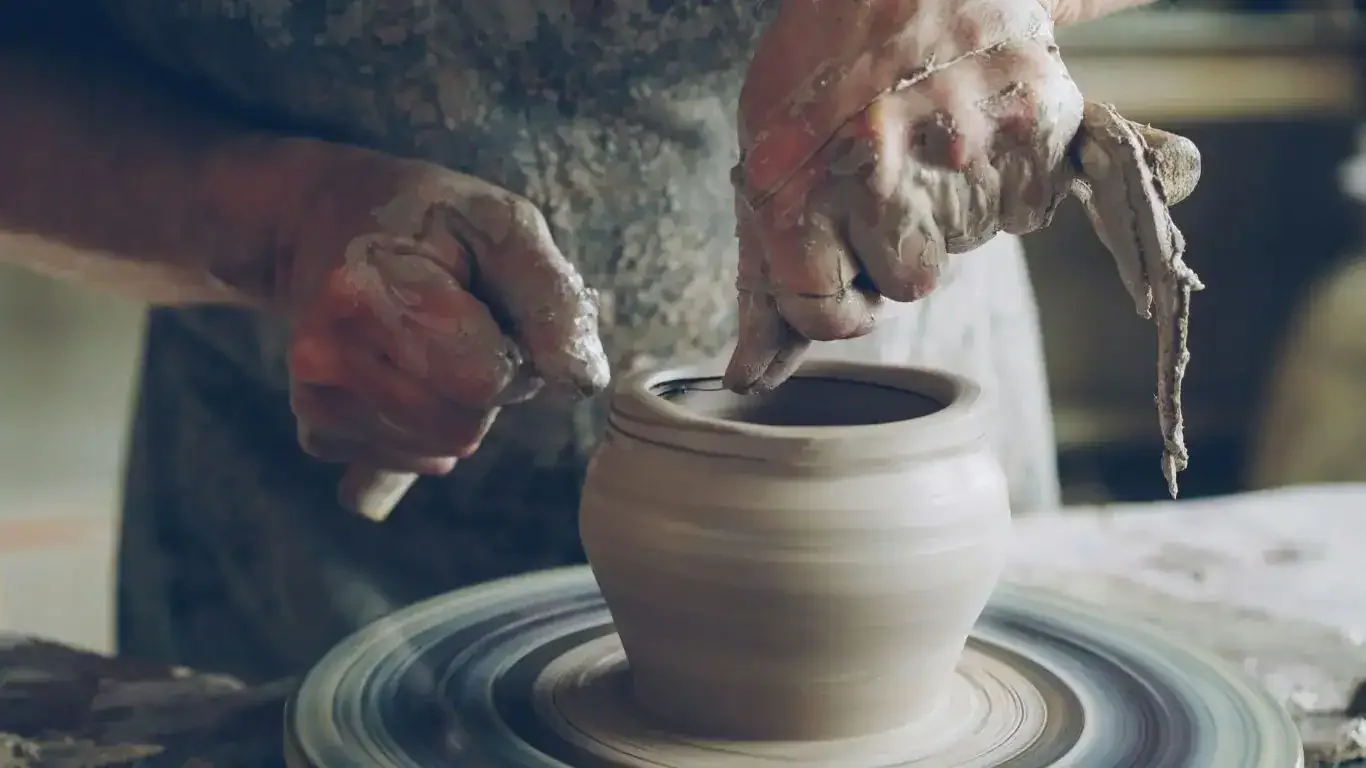
7. Needle Tool
A sharp, slender tool for scoring, popping air bubbles, and checking wall thickness.
Pro Tip: Use it to mark consistent rim heights before cutting — it ensures even proportions across pieces.
8. Wooden Modelling Tools
Ideal for shaping, cutting, and detailing clay by hand. Each has a unique edge or contour for sculpting.
Pro Tip: Sand wooden tools occasionally — smoother edges leave cleaner marks on clay.
9. Banding Wheel
A small rotating stand used for decorating, glazing, and trimming — offering 360° access without touching the piece.
Pro Tip: Choose a heavy base for stability; lightweight wheels can wobble during precision work.
10. Studio Essentials
A few non-glamorous but absolutely necessary tools:
- Buckets for reclaiming and cleaning
- Spatulas for mixing glazes
- Brushes for applying slip or glaze
- Aprons & Towels for constant cleanup
Pro Tip: Keep separate buckets for clean and dirty water to prevent glaze contamination.
Setting Up Your Home Pottery Studio
You don’t need an industrial setup to start creating. Focus on:
- A sturdy table and splash-proof area
- Good ventilation (especially for glazing)
- Natural light to help with detailing
- Shelving for drying work and storing tools
- Clay recycling system to minimize waste
Pro Tip: Start small. A few versatile tools, a small wheel, and good clay discipline can take you a long way.
Conclusion
Every tool tells a story of precision, patience, and practice. As you grow in your pottery journey, your toolkit will naturally evolve with your forms and techniques. What matters most isn’t how many tools you have, but how you use them to express your vision through clay.
At Dharamkot Studio, our workshops are designed to introduce you to every stage of this process, from learning the wheel to glazing your first handmade piece.
Explore our upcoming retreats in Himachal and Goa to experience pottery hands-on with expert guidance.